
Rotate
Rotate creates an angled booth from a standard booth, or changes the rotation of an existing angled booth.
Rotate Booth - NextGen Floorplan
To rotate a booth:
-
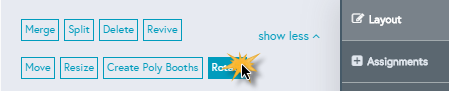
Select Layout from the menu on the right side, then click ‘Show More', and choose ‘Rotate’

-
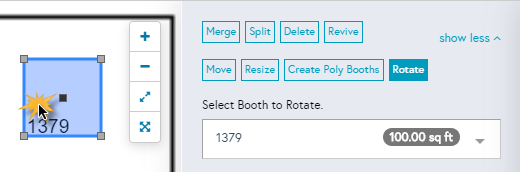
Choose the booth you wish to rotate by clicking on it, or selecting it from the drop down
- Either click and drag from a vertex or manually type in the number of degrees you wish to rotate the booth
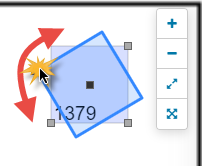
- Click and Drag - Click and hold on a corner vertex (the gray/taupe squares at each corner of the booth) and use your mouse to drag the vertex to the desired angle.
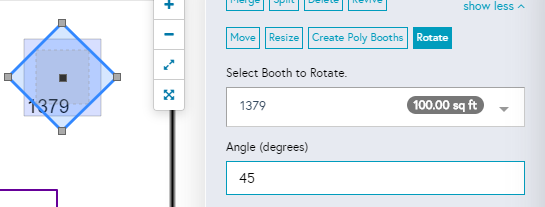
- Manually Type - Type in the number of degrees (ie 45, 90), you will see a preview of the change.
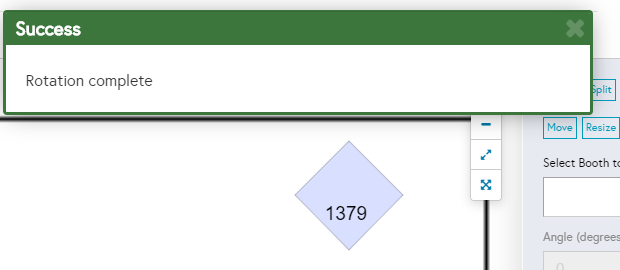
- Click Submit to rotate the booth.

- You will get a green success alert, and the booth will be rotated.
- Click and Drag - Click and hold on a corner vertex (the gray/taupe squares at each corner of the booth) and use your mouse to drag the vertex to the desired angle.
Rotate Booth - Classic Floorplan
Events>Floorplan>Layout>Rotate
Using the Rotate function in the Layout tab, you can take a standard or poly booth and rotate it around a point.
Each corner of the booth space is a point that can be selected to rotate around. These points will be displayed in a drop down, and the corresponding point on the booth space will have an orange dot highlighting it.
STEPS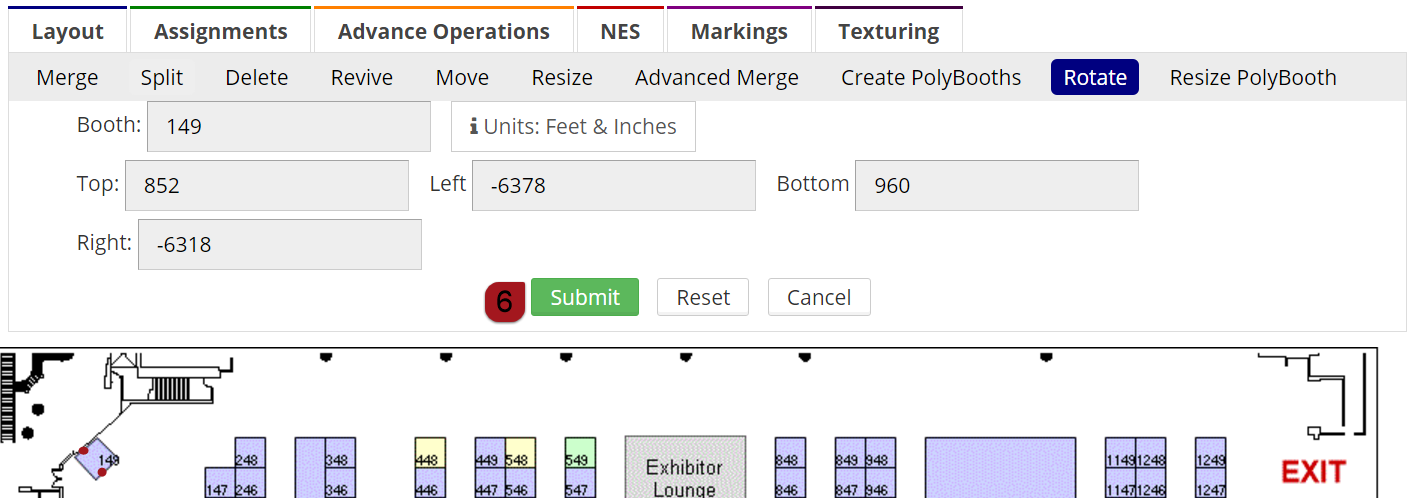
- Choose Rotate from the Layout Tab
- Click on the booth you want to rotate
- Choose the point of rotation from the drop down box. Note - This point will stay fixed while all the other points will rotate.
- Type in the degree of rotation (i.e. 45 or -45)
- Click Submit
- Choose the new label area by selecting the top left and bottom right corner of the area the label should display.

Video