
A Poly Booth is a non-standard-shaped booth. Examples - more or less than 4 sides, or booths set at an angle.
If the goal is to create an L-shape or a C-shape or another non-rectangular combination of existing booths, please use Advanced Merge feature instead. (See also video.)
If an existing booth can be rotated, please use Booth Rotate feature. (See also video). If there is no booth to rotate in the desired area, consider using the Move feature to relocate an existing booth, renumber it, and Revive it in the original location.
Only use the Create Poly Booths feature when the desired shape cannot be constructed by combining and rotating any existing booths.
Create Poly Booth
To create a poly booth:
- Go to Layout, then 'show more', and click on Create Poly Booths


- Type in the booth label/number for the booth space you are creating.
-
Create the Booth:
-
Tips:
- Gridlines will appear based on the max layout of your map.
- The option to Snap to Gridlines can be checked on, this will allow you to align the corner points with the max layout of your map.
-
Click on the map to create the corners of the booth you would like to create.
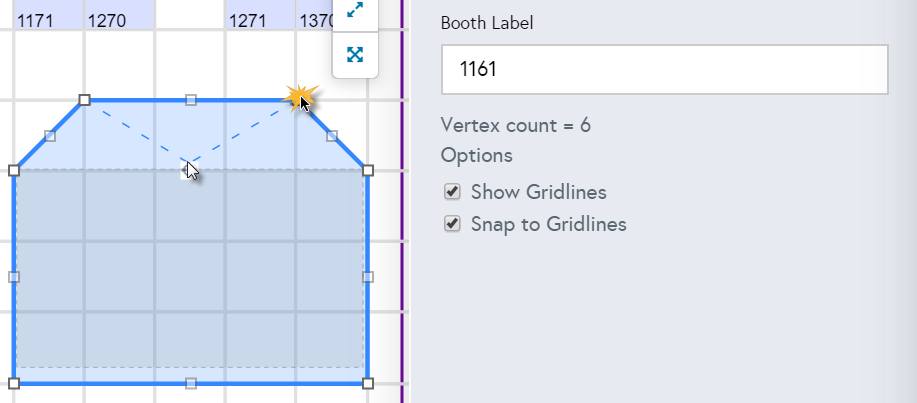
- A preview of the booth will appear as you click the map.
- Handles will appear on each corner point, and can be adjusted by clicking and holding your mouse, then dragging the corner point.
- An 'inner rectangle' will appear in the preview to show where the booth and company name labels will appear.
-
Tips:
-
Click Submit


Classic Floorplan Create PolyBooths
To create a unique shaped booth use Create PolyBooths. For complex booth shapes, contact the Support Services Team using the Help Button in the lower right corner of every screen.
Click Floorplan in the top right corner

or click Floorplan on the Left toolbar.
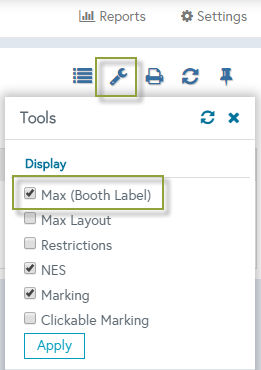
Recommendations:
- Turn on the Max (Booth Label) to see the booth grid from the Max Layout. You can use this as a ruler if you need a particular shape and size.
- Zoom into the area for more accurate points.
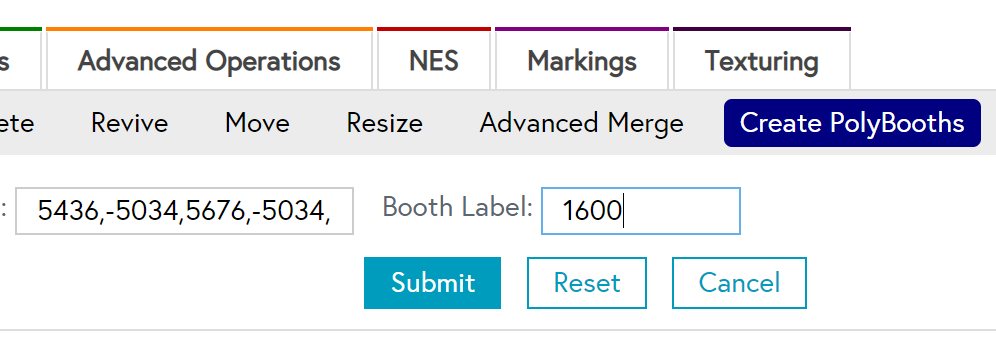
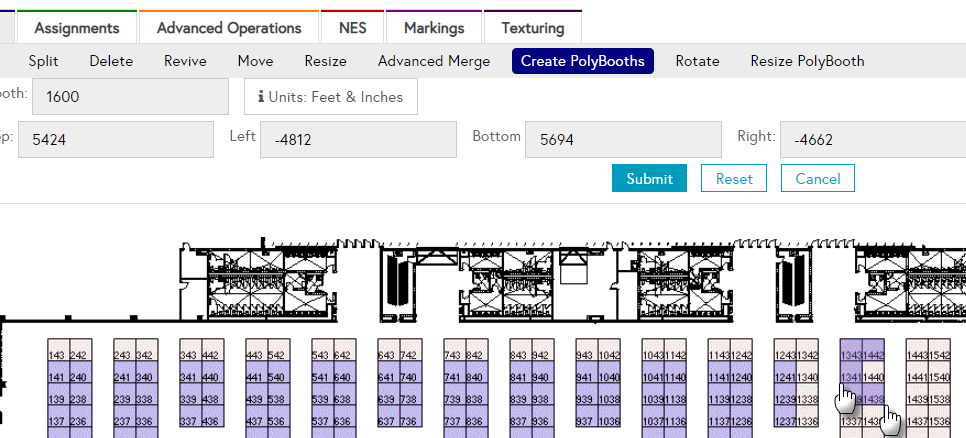
Select Create PolyBooths under the Layout tab.

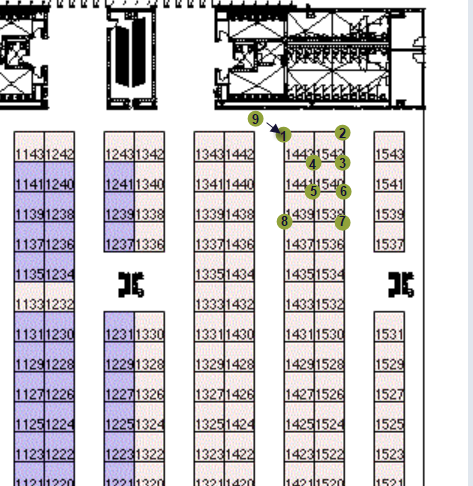
Click each point in the shape you would like to create, ending in the same point you began with.

Add the Booth Label for the booth number. All of the points will automatically populate to the left. Hit Sumbit.

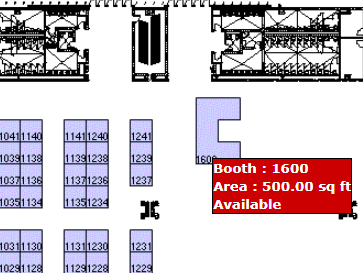
Click the Top Left and the Bottom Right of the area you would like the Booth Number to appear. The coordinates will automatically populate in the fields. Hit Submit.
The Polybooth can be Resized or Moved after it has been created.

If the resulting booth is incorrect, please delete and try again.
For help with individual booth manipulation please reach out to Support team.
If a large area of poly booths must be created, it may be imported from a DWG provided by your decorator, and your account manager will work with you on determining the cost of the effort.