
This letter is able to be sent to any contact that has been marked as a grader for a specific event type.
1. Update the Grader Communication Letter template
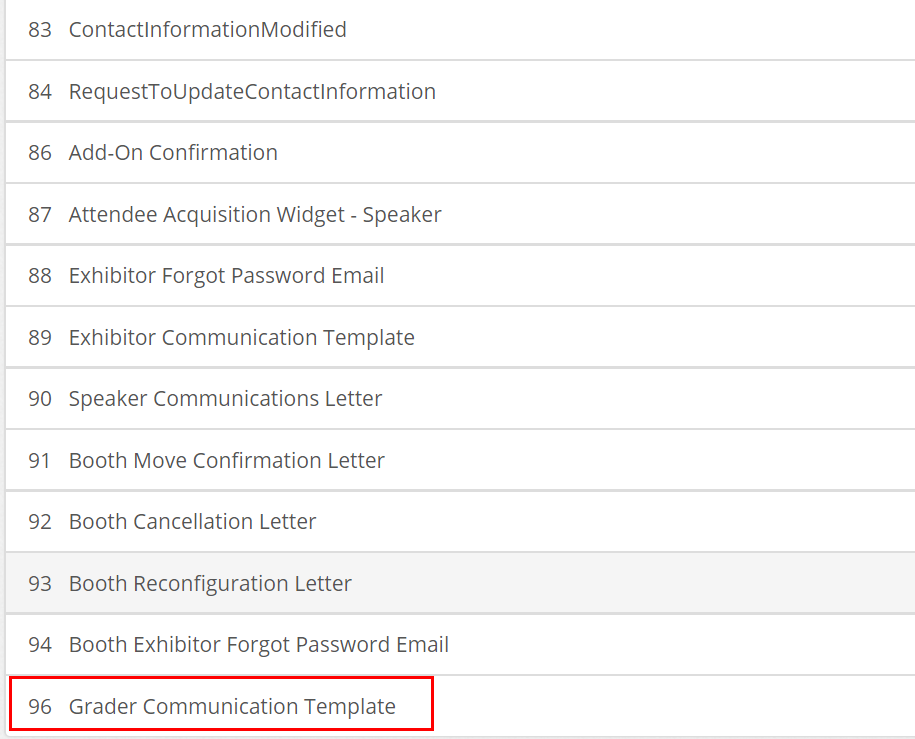
1.1 Events >Event Settings>Event Settings>Template Management>96-Grader Communication Template
1.2. Edit Content of letter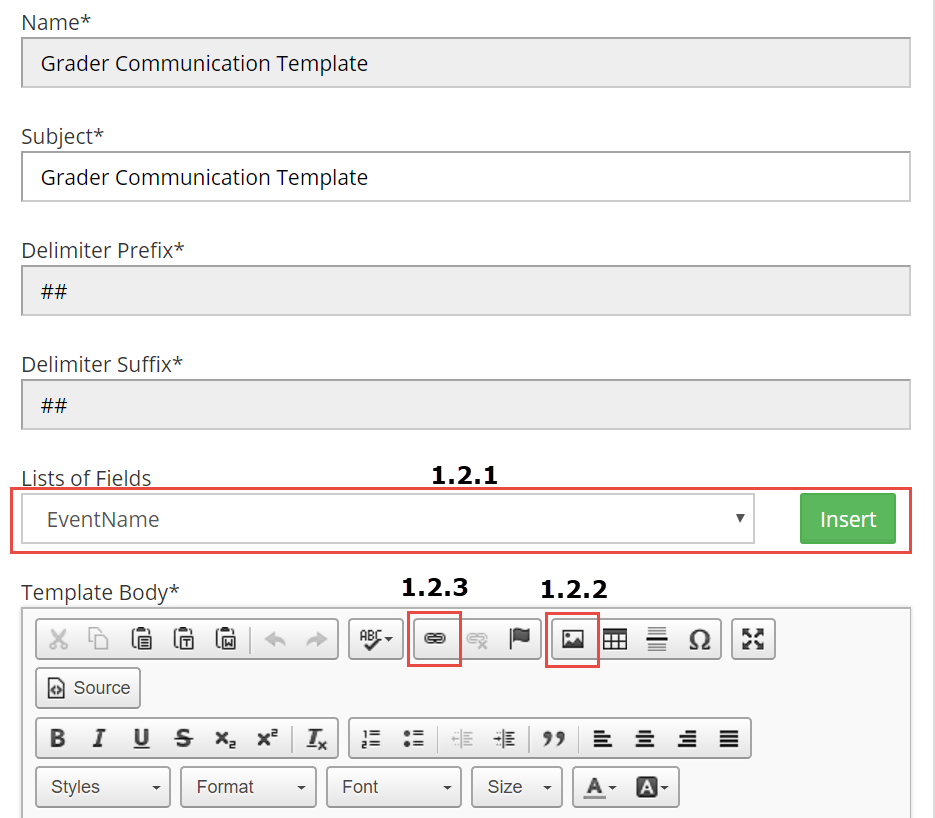
1.2.1. Add merge fields
To add a Merge Field, select the field from the drop down entitled “List of Fields”, place your cursor where you want the field to be, and then click Insert. Do not remove the ## characters because this tells the system it is a merge field.
NOTE – there are some special merge fields as follows:1. TO_Contact – these fields use the name and/or contact information of the contact from the TO hierarchy (see 1.2.6)
2. Public Side URL – This field adds in the Public Site’s URL, so that even if the URL is changed the template will not need to be updated.
1.2.2. Add images
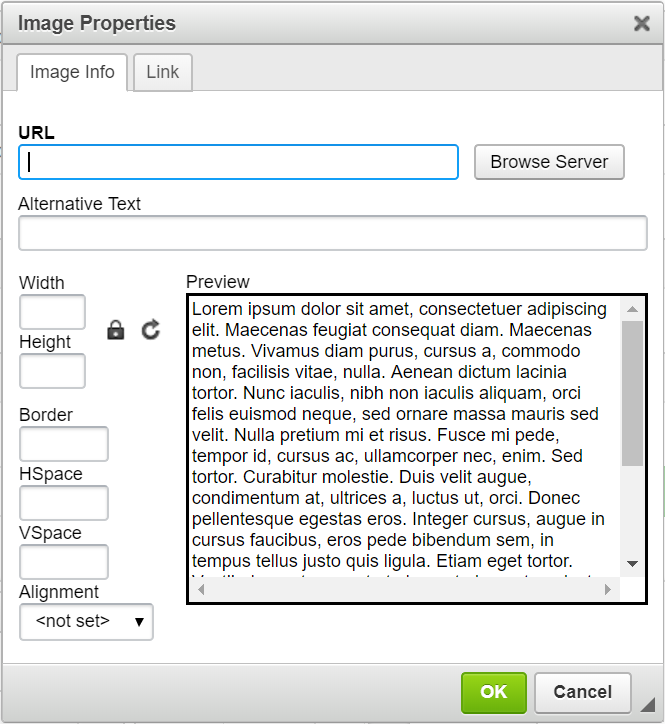
Images are first uploaded into Events > Content > File Management, then selected by clicking the Image Manager Icon (or using crtl+M on your keyboard). Select the image from the folder you have uploaded it into, and select any styling from the menu.
1.2.3. Add hyperlinks
Hyperlinks are added by highlighting the text you want to link, clicking on the Hyperlink Manager, and entering the URL that you would like to link the selected text. Be sure to use http://.
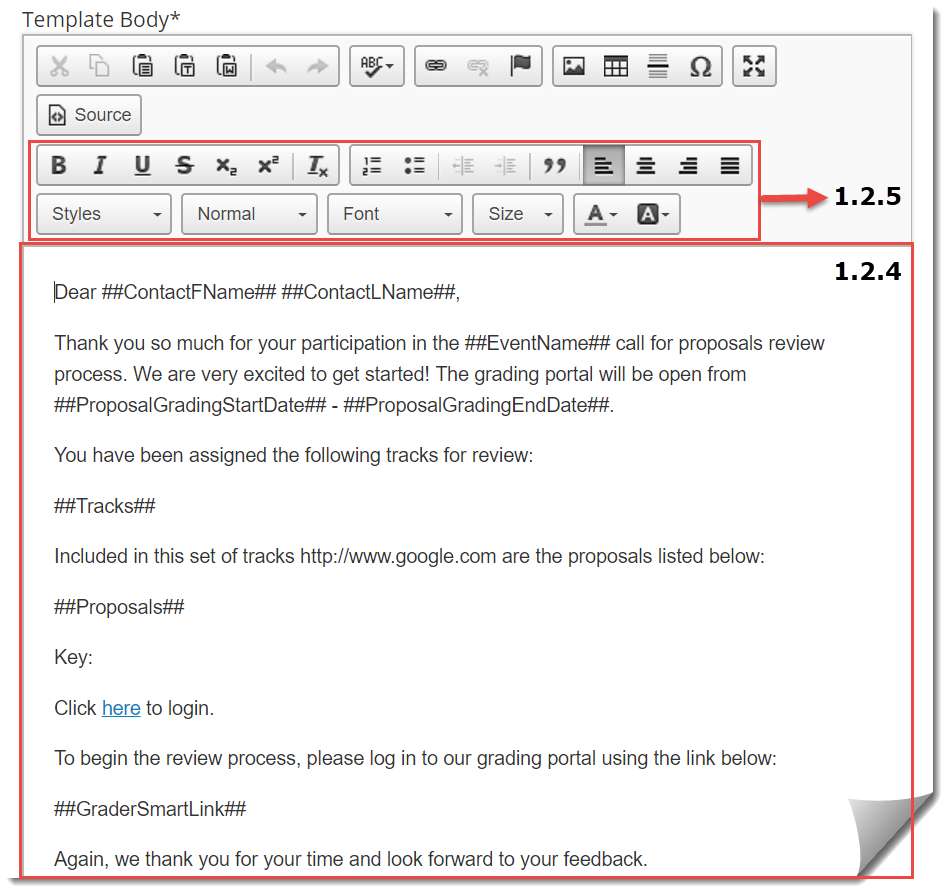
1.2.4. Edit text
You can edit or enter new text into the main text area.
1.2.5. Format text
Text is formatted using the standard tools like Bold, Italicize, and Underline, and more advanced items like Strikethrough, page justification, font type, font size, font color, highlight color, and paragraph styles [ex. Numbered list, Heading 1]

1.2.6. Update
Click the update button to update the Template.
2. Send out the Blast
2.1. Reports > Printing & Email > Grader Communication Letter

2.2. Set Criteria

2.2.1. Select Event
Use this drop down to select the event for which you are sending the communication letter. This will default to the event that was last selected on Events>List of Active Events
2.2.2. Email Type – Live/Test
Test Email – Select this, and then enter your email address to send the emails selected on the next screen to your email address. This does not mark the emails as sent.
Live – This is selected by default, and will send the emails out to the exhibitor, and mark them as sent.
NOTE: It is a recommended practice to send yourself a TEST message before sending out the LIVE messages.
2.2.3. Grader Status – All/Completed/Needs Grading
All - All Graders, regardless of whether they have graded all their assigned proposals, will be selected and available to send to on the following screen
Completed - Every Grader who has graded all of their assigned proposals will be selected and available to send to on the following screen
Needs Grading - Every Grader who has NOT graded all their assigned proposals will be selected and available to send to on the following screen
2.2.4. Click ‘Go’
2.3. Select recipients
Use the Checkboxes on the left to select which Graders you would like to send the communication letter to at this time.
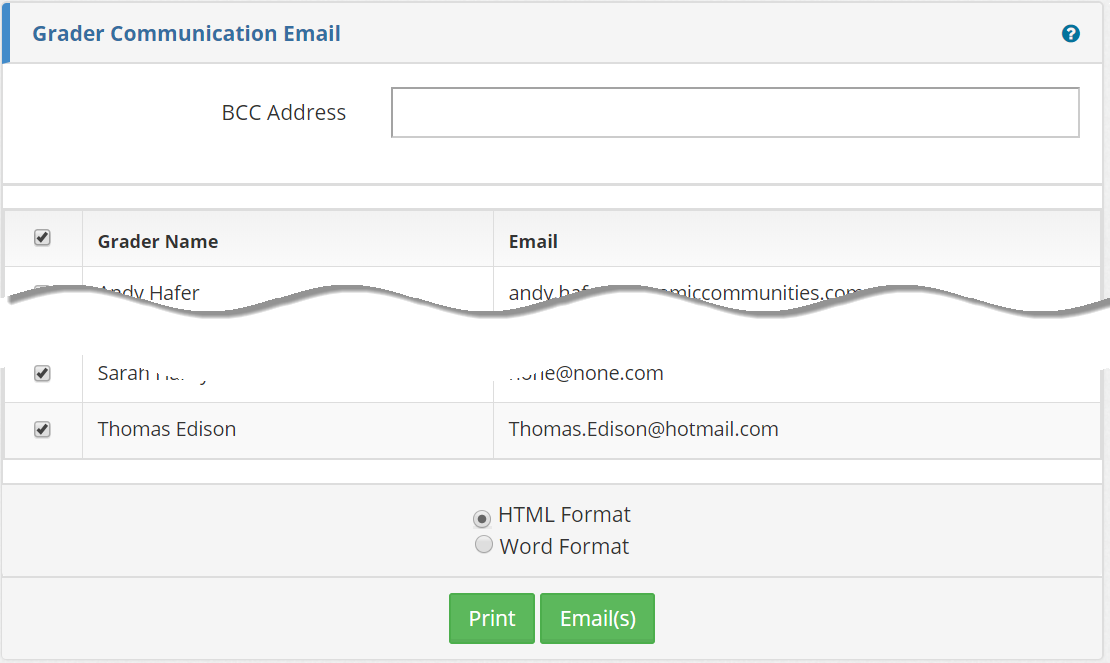
2.3.1. Print
The communication Letter can be printed, by selecting Word Format, and then Print. This will create a Word Document that contains all the Communication letters for the selected graders.
2.3.2. Email(s)
To Email the communication letter, click the Email(s) button and the letter will be sent to all the selected graders. By default this sends in HTML Format.