
If you are not using Next Gen Floorplan, see Toolbar Overview - Classic.


1. Map List
2. Tools
3. Refresh
4. Print
5. Tips
6. What's New
7. Search Bar
8. Zoom
10. Legend
The Parts of the Tool Bar
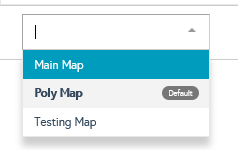
Map
If you have multiple maps you will be able to access them through this dropdown. Click on the preferred map to switch.
Tools
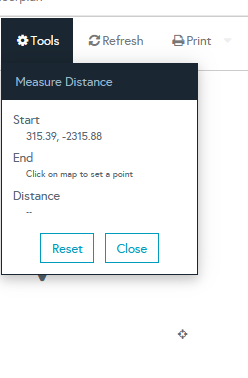
The Measure Distance tool calculates the distance between two sets of coordinates.
- On the floor plan, click on the starting point and the ending point of the area to be measured.
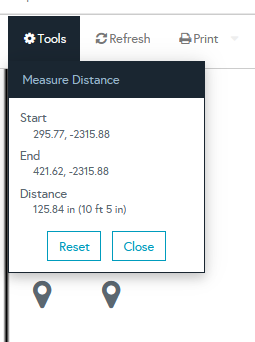
- The start and end sections will then populate with the coordinates.
- The system will display the start and end locations as grey pin drops and the result of the measurement in the unit of the event ie. feet and inches, or meters.
Reset clears the start and end point to allow measuring a new set of points.
Close closes the tool.
Refresh
To refresh the floorplan management page, use the refresh button on the toolbar. This refreshes only the floor plan - whereas your browser refresh resets the entire page (which may take longer depending on browser, OS, and internet)
Clicking on Print will produce a PDF of the floorplan using default settings.
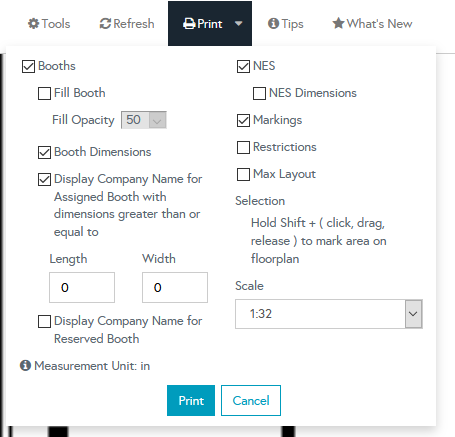
Click on the downward arrow next to the word Print to view the Print Settings
Booths - check to show all Booths
Fill Booth - Check this box to print the floorplan showing the legend colors.
- Fill Opacity controls the density of the legend colors. The higher the number, the more transparent the colors will be. The lower the number, the more solid the colors will be.
Booth dimension - check to show Booth Dimensions
Display Company Name for Assigned Booth
- By default, all assigned booths' exhibitor names will be shown
- Minimum booth size to show exhibitor names can be specified by entering Length and Width
Display Company Name for Reserved Booth
- If checked, all reserved booths' exhibitor names will be shown
- Minimum booth size to show exhibitor names can be specified by entering Length and Width
NES– Check to show all Non-Exhibiting space
- NES Dimensions– Check to show Non-Exhibiting space dimensions.
Max Layout– Check here to show the Max Layout of your floor plan.
Markings– Check here to show all Markings on your floor plan.
Restrictions– Check here to show where all restrictions have been placed on the floor plan.
Max Layout– Check here to show the Max Layout of your floor plan.
Selection - by default the entire floorplan will be printed. If a section of the floorplan needs to be printed, hold down the Shift key, and click, drag and release the mouse button to mark the area of the floorplan.
Scale– 1:128 through 1:8 are the options. It is recommended to print with the default option of 1:32 which stands for 1 inch on the floor plan = 32 feet in the real life exhibit hall.
Measurement Unit - shows whether inches or meters are used.
Tips
An informational section with reminders on Selecting Booths, Drawing and Editing and Viewing Layers
What's New
Occasionally updated with major improvements to the floorplan
Search Bar
Searches the floorplan for either booth number or company name.
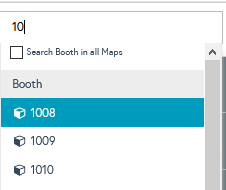
Searching by booth number
Start typing in the first few digits of the number. A suggestion list of known booths starting with these digits will display. If there are multiple maps, "Search Booth in all Maps" checkbox will be displayed. Check it to look for a booth that may be located on other maps.
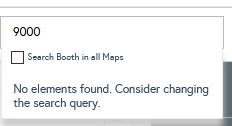
If the desired booth number is not on the map or maps searched for, a message will be displayed: "No elements found. Consider changing the search query"
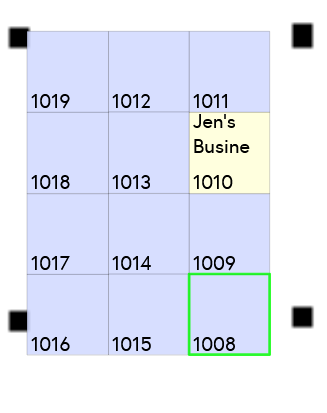
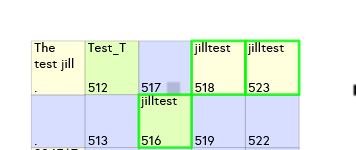
If found, the booth will be highlighted in green and focused on:
Searching by Company Name
Start typing the first few letters of the company name. Suggestions from all companies (whether or not they have a booth) will be diplayed.
If there are multiple maps, "Search Booth in all Maps" checkbox will be displayed. Check it to look for an exhibitor that may be located on other maps.
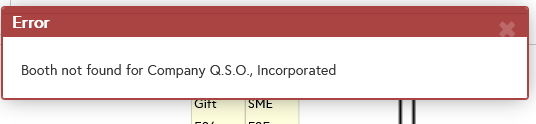
If the company does not occupy a booth, a message will be displayed: "Booth not found for [Company Name]"
If found, all booths belonging to the company will be highlighted in green.
Zoom
In addition to using the tool, the mouse scroll wheel can be used for zooming.
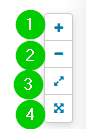
1. zoom in
2. zoom out
3. return to starting zoom level
4. display on full screen
Functional Menus

Color Legend
Located in the lower left of the floorplan, legend explains colors used by the floorplan. The colors are designed to be distinct for users with most forms of colorblindness, and cannot be changed.
