
Statements are used with Automatic Financials to communicate financial information to a company. It is the recommended way to send Invoices, and you can either send one statement at a time or send multiple statements at once. The statement includes the list of booths the company is assigned to, all the items they have ordered, any payments they have remitted, and the date(s) payment is due.
Set up template
1. Go to Template Management under Event Settings
2. Then update the statement using the WYSIWYG tools.
- Add merge fields - To add a Merge Field, select the field from the drop-down entitled “List of Fields”, place your cursor where you want the field to be, and then click Insert. Do not remove the ## characters because this tells the system it is a merge field.
- NOTE - there are some special merge fields as follows
- TO_Contact – these fields use the name and/or contact information of the contact from the TO hierarchy (see section vi below.)
- Public Side URL – This field adds the Public Site’s URL, so that even if the URL is changed, the template will not need to be updated.
- Add images (optional) - Images are first uploaded into Events > Features > Content Management>File Management, then selected by clicking the Image Manager Icon (or using Ctrl+M on your keyboard). Select the image from the folder you uploaded it to, and choose any styling from the menu.
- Add hyperlinks (optional) - Hyperlinks are added by highlighting the text you want to link, clicking on the Hyperlink Manager, and entering the URL that you would like to link the selected text. Be sure to use http://.
- Edit text - You can edit or enter new text into the main text area.
- Format text- Text is formatted using the standard tools like Bold, Italicize, and Underline, and more advanced items like Strikethrough, page justification, font type, font size, font color, highlight color, and paragraph styles [ex. Numbered list, Heading
- Configure TO: and CC Hierarchy: These two fields are configured as a hunt sequence. The First Contact type will be sent the email, in the case that there is not an email address for this contact, or not a contact of this type associated, then the system will look to the next contact in the hierarchy. If there are no contacts associated with any contact type in the hierarchy, the system will use the Company Contact.
vii. Update - Click the update button to update the Template.
Send One Statement at a Time
Go to the company record, choose the financial summary tab
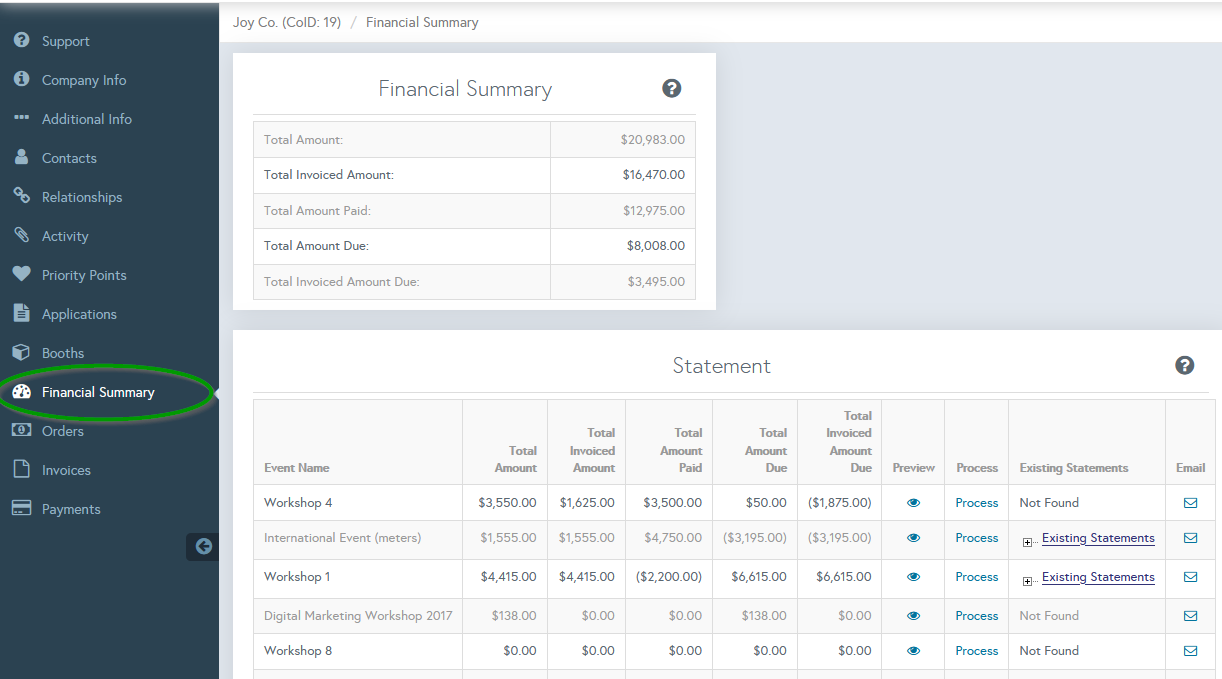
Select Email. Now you can either email or print the statement.
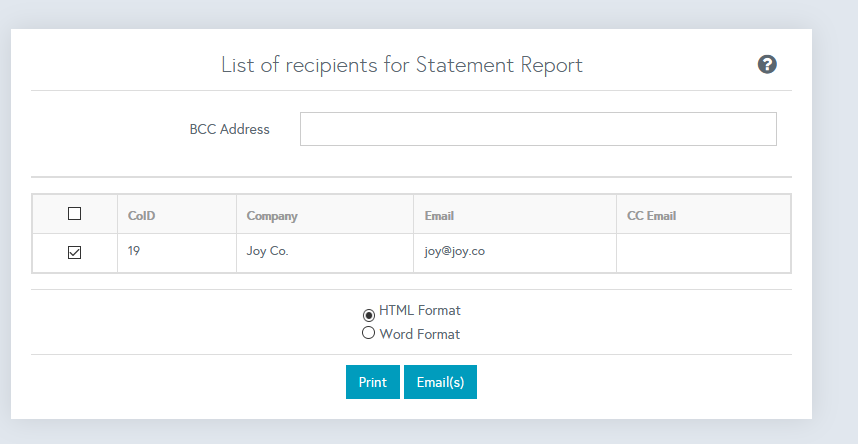
You have the option to add a BCC: when you email out the Statement. This can help you keep a copy of the documentation so you can reference the date it was sent and resend it directly from your email program.
Send Multiple Statements
To send multiple statements at once, first navigate to Reports > Printing & Email > Statements.
The Statement Report criteria page allows you to specify which statement to send and which company contact type should receive it.
Review the information below for more details about each criterion field:
- Select Event - Specify the event for which you want to send the statement.
-
Amount - Filter which statements you want to send by selecting from the dropdown:
-
Total Invoice Amount Due for Event - Pulls statements for companies where the total invoice amount due for the event is >, <, =, =>, or =< to - or the value entered by the user.
-
Total Amount Due for Event - Pulls statements for companies where the total amount due for the event is >, <, =, =>, or =< to - or the value entered by the user.
-
Total Amount for Event - Pulls statements for companies where the total order amount is >, <, =, =>, or =< to - or the value entered by the user.
-
Past Due Invoice Amount - Pulls statements for companies where the statement has a past due invoice amount that is >, <, =, =>, or =< to - or the value entered by the user.
Important: This filter does not show invoices as past due if the Payment Schedule has a grace period defined and the report is run within the specified number of days.
-
Total Invoice Amount Due for Event - Pulls statements for companies where the total invoice amount due for the event is >, <, =, =>, or =< to - or the value entered by the user.
- Date - Pulls statements that have an active 'Order Date' between the defined dates.
- Sort By - Define the method in which results will appear on the recipient confirmation page.
-
Email Type - Set to Test to put the system in test mode and send yourself an email to see how it appears when the exhibitor receives it.
Note: Be sure to select only one record from the list when using test mode so you don’t receive all the emails. - TO Hierarchy - Define the order in which company contact types should receive the email.
- CC Hierarchy - Define the order in which company contact types should be copied on the email.
After entering your Statement Report criteria, click Go and proceed to the recipient confirmation page.
Important: Clicking the Go button does NOT send the statement emails.
Review the recipient list and confirm the desired companies appear on the list and the checkbox is selected.
Note: If you do not see the expected companies, please go back a step and check your filters. After confirming that the applied filters are accurate and that the desired companies are still missing from the recipient list, navigate to Event Settings > Financial Management > Generate Invoices, then click the Process Invoices button. By manually triggering the generate invoices process, all statements will update to your current item type hierarchy and payment schedule settings.
After confirming the correct companies are selected, choose the format for your Statement Report, then click Print or Email at the bottom to run the report.