Template Management is where all the Email and Document templates are located, along with the emails that are sent from the event website [ex. Booth Space Application Confirmation]. Users can edit templates to change the content, merge fields, and email hierarchy for these reports/emails.
Events>Event Settings>Event Settings>Template Management
Step 1 Click into the Event and select Event Settings from the bottom of the left toolbar
Step 2 Scroll to the bottom of the page and select Template Management from Event Settings.

Step 3 Select the Email Template you would like to edit from the list of templates

Editing Templates
- Subject - Update the subject line for email templates. Merge Fields (#2) can be used in the subject line.
- Merge Fields - Use this drop down to add fields to the content of the email/document, or to the subject line.
-
Insert - To insert a merge field, first select the field, place your cursor into the spot you would like the field to appear, then click the Insert button to place the field.

- Template Body - Enter the email or document content into this area. Content, including merge fields, can be styled using the formatting bar. You can type, or paste (see #5 below) your content. Click into the content window to edit existing content.
-
Paste Tools - Paste, Paste Plain Text, and Paste from Word (from left to right) are available to use to add existing content into the Template Body content window.
- Use Paste to enter text exactly how it appears in the original document, this will leave in all in-line styling.
- Use Paste Plain Text to remove all styling from the original document, so that you can format the content using the provided formatting tools.
- Use Paste from Word to paste content that you have copied from a Word document or similar program. This will remove any word-processing specific formatting while keeping the basic formatting of the original document. - Formatting tools - Use these tools to format your text, including size, font, text color, and text highlight.
- Hyperlink - You can hyperlink text or images by first selecting the text or image and then clicking the hyperlink tool. Enter your URL, or select Email from the drop down and input the email address and default subject and body text.
- Add an image - Upload images into File Management (view article here) to access them from this menu item. You can place images into your template by placing your cursor where you want the image to show up, selecting the image icon in the formatting toolbar, navigating to the location you saved your image, and then double-clicking on the image. You will then been given image format options and can click SUBMIT to complete.
-
View Options - Use the four arrow icon to make the content window and formatting toolbar full screen, click again to return to the standard screen view. Click "Source" to switch to HTML mode from Rich Text mode - click again to switch back.

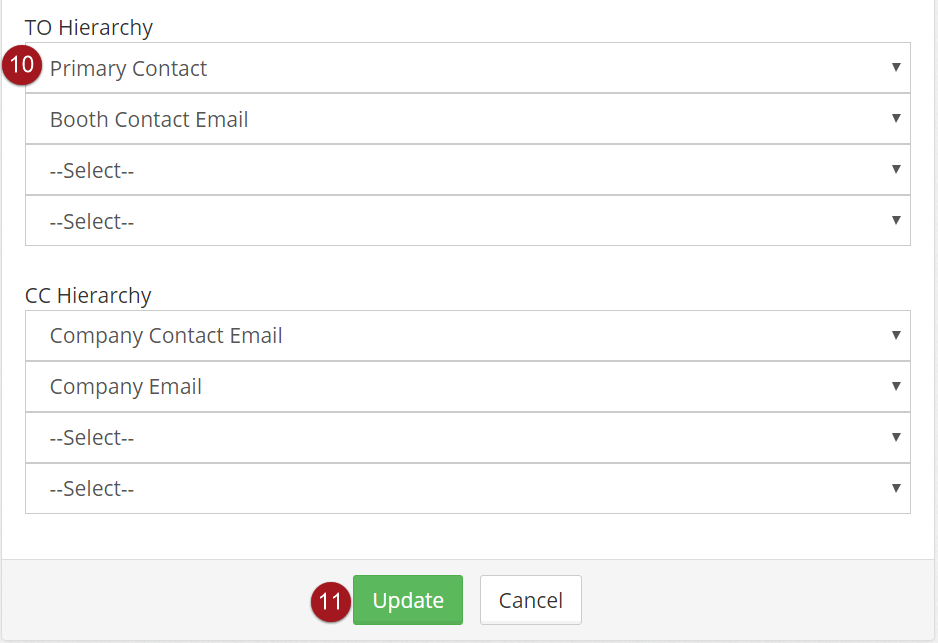
- TO and CC Hierarchy - These 2 fields are set up as a hunt sequence. The First Contact type will be sent the email, in the case that there is not an email address for this contact, or not a contact of this type associated, then the system will look to the next contact in the hierarchy. If there are no contacts associated with any contact type in the hierarchy, the system will use the Company Contact.
-
Update/Cancel - If you would like to save any changes you have made, click Update, otherwise click Cancel to return to the main Template Management screen without saving changes.