The Contact Report allows the user to configure reports that focus on contact level information. This report can be pulled based on Contact Type.


To Pull the Report
- Select Display fields
- Select Search options
- Choose up to two level s of sorting
- Select an output format
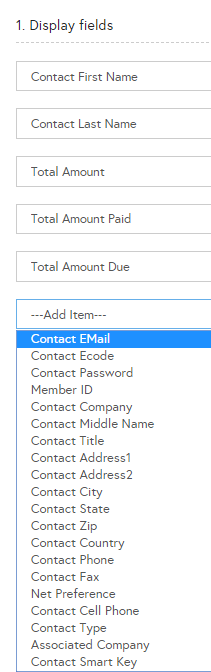
1. Display Fields – There are 25 drop down boxes, with 22 standards contact fields available. Additionally if the event is using Contact Custom Fields, these will also be available in the drop downs.
- Contact Details – including contact first and last name, company and address information as it appears in their contact record.
- Financial Fields – There are three financial fields that are not currently in use; Total Amount, Total Amount Paid, and Total Amount Due.
- Contact Custom Fields – These fields are added using Manage Lists>Contact Custom Fields. The questions name will appear in the drop down boxes, and the answers for each will show in the results.
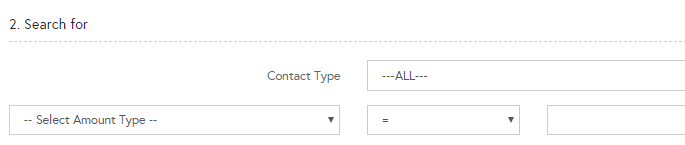
2. Search Options – Choose a contact type from the drop down to narrow the search results to only contacts that are associated with a company and have this as their type. Note – the Select Amount Type drop down is not currently in use.
3. Sort Options - Use up to two of the four available fields to sort the search results. Note – the three financial based fields are not currently in use; Total Amount, Total Amount Paid, and Total Amount Due.
- Contact ID – the unique identifier for the contact in the system.
- Contact First Name – the first name of the contact as it appears on the contact info tab of the contact record.
- Contact Last Name - the last name of the contact as it appears on the contact info tab of the contact record.
- Contact State – the state or province of the contact as it appears on the contact info tab of the contact record.

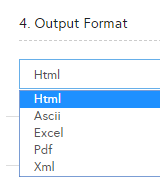
4. Output Format –
- HTML – view the data in the browser window.
- Excel – Creates an Excel document, which can be saved or opened to view.
- ASCII – Opens the data in a text file, to be viewed or saved.
- PDF – Save or view the data as a PDF file.
- XML – opens the data as an XML file.
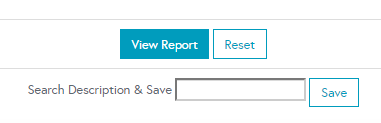
5. To save the options that were selected in steps 1-4 for later use type a name into the Search Description box and click ‘Save’. This saved report will now show in the Reports>My Reports menu as well as the My Reports box below the Search box.